Wednesday, 19 December 2018

Vajrasana pose

Level: Beginners


Style: Vinyasa


Duration: 5 to 10 Minutes


Repetition: None


Stretches: Ankles, Thighs, Knees, Hips


Strengthens: Legs, Back 


Back To TOC

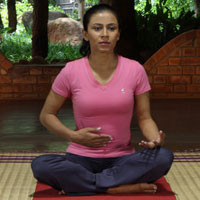
How To Do The Vajrasana 

Kneel down, stretching your lower legs backward and keeping them together. Your big toes should cross each other.


Gently lower your body such that your buttocks are resting on your heels and your thighs on your calf muscles.


Place your hands on your knees, and set your gaze forward with your head absolutely straight.


Turn your attention to your breathing. Be fully aware of how you breathe and carefully observe as you inhale and exhale.


You could close your eyes to concentrate on your breathing and to calm your mind.


Try to stay in this position for a minimum of 5 to 10 minutes.

Precautions And Contraindications

This asana is extremely safe. However, these are a few things you should be cautious about when you start practicing this asana.

It is best to avoid this asana if you have a knee problem or have undergone surgery in your knees recently.


Pregnant women should keep their knees slightly apart when they practice this asana so that they avoid putting pressure on their abdomen.


If you are suffering from any spinal column ailments on the lower vertebrae, it is best to avoid this pose.


Those suffering from intestinal ulcers, hernia, or any other problems related to the large or small intestine should practice this pose under the guidance of a yoga instructor.


Back To TOC

Beginner’s Tips

As a beginner, when you assume this position, it is likely that your legs might begin to pain in no time. If this happens, all you need to do is undo the asana, and stretch your legs forward. Give your ankles, knees, and calf muscles a good massage. In time, with practice, you should be able to go up to 30 minutes comfortably in this asana.

Also, beginners should work slowly and gradually on bettering the strength of the muscles in the lower back before they try to go deeper into the pose or increasing the duration. Once the lower back is strengthened, the strain on the breath is decreased. It is also important to note that if you push yourself more than your body can take, the benefits of the pose are minimized.

Back To TOC

Advanced Pose Alterations

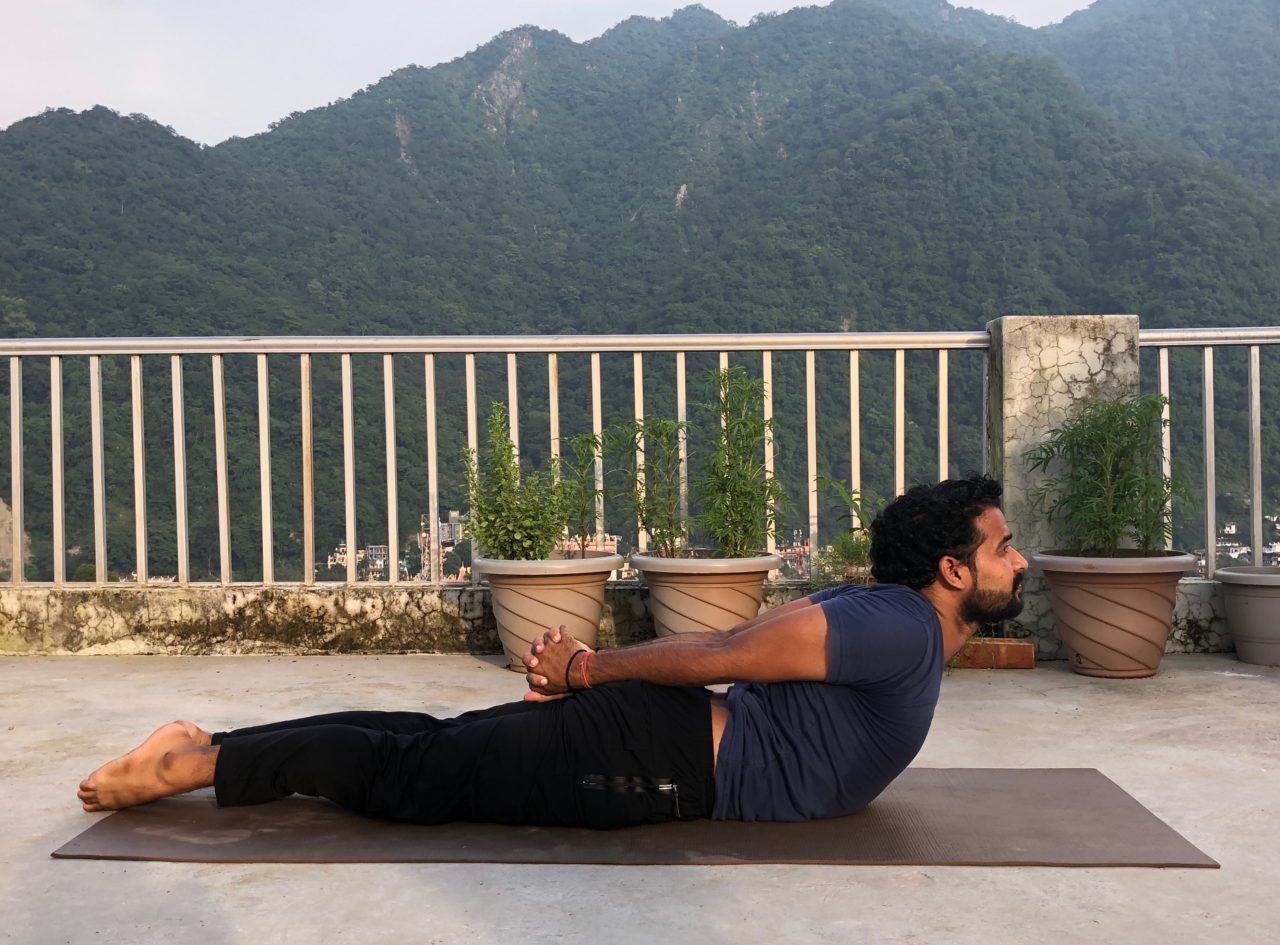
The advanced variation of the Vajrasana is the Supta Vajrasana. In this variation, once you sit in Vajrasana, you need to bend backward and place both your forearms as well as elbows on the floor. Then, arch your spine and neck until the crown of your head touches the floor. This asana helps strengthen the muscles in the neck, back, and chest regions. It also expands the chest and relieves lung problems. However, it is important to master the Vajrasana before you try this pose. It is also best to practice the Supta Vajrasana under the guidance of a yoga instructor.

Back To TOC

Benefits Of Vajrasana

These are a few amazing benefits of the Vajrasana.

This asana improves digestion and with regular practice, it eliminates constipation.


Better digestion prevents ulcers and acidity.


This asana strengthens the back and relieves patients suffering from lower back problems and sciatica.


This asana strengthens the pelvic muscles too.


It helps to ease out labor pains and also reduces menstrual cramps.


This asana is one of the best ones to assume when you wish to go into a meditative state since it is an upright pose.


Back To TOC

The Science Behind Vajrasana

The Vajrasana is a steady, firm pose, and those who assume it cannot be shaken easily. It is a meditative pose, but sitting in this pose can be quite challenging. One has to conquer the pain in the legs and the unrest in the mind to master the pose and enter a meditative state. One needs to train themselves to sit still and be willing to invest their mind in it.

The Vajrasana regulates blood circulation in the lower pelvic region. Sitting on your legs reduces the blood flow in the legs and increases it in the digestive area, therefore increasing the efficiency of the digestive system.

Camel pose

7 Steps to Master Camel Pose (Ustrasana)

Learn how to open your shoulders and boost your energy and mood in the back-bending camel pose.


Benefit

Strengthens the back; opens the shoulders, chest, and quadriceps; boosts mood and energy.

Instruction
1 Come to your knees, with your legs hip-width apart. Place your hands on your hips, with your thumbs on your sacrum, the bony plate at the base of your spine. Keep your hips over your knees and internally rotate your thighs, squeezing them toward each other.

2 Inhale to engage your lower belly and reach your tailbone toward your knees, creating space between your lower vertebrae.

3 On another inhalation, lift your sternum and draw your elbows toward each other, allowing your rib cage to expand.

4 Keep your chest raised, your core engaged, your spine long, and your chin tucked as you drop your hands toward your heels.

5 Press the heels of your hands into the heels of your feet while draping the fingers over the soles. Keep lifting through your sternum.

6 Now lift your shoulders to allow the trapezius muscles between the shoulder blades to rise up and cushion your cervical spine. Gently lower the head and neck and gaze at the tip of your nose.

7 To exit the posture, bring your chin back toward your chest and your hands to your hips with your thumbs on your sacrum. Engage your lower belly and use your hands to support your lower back as you come up slowly.

Avoid These Mistakes

DON’T pinch the shoulders together, tensing the neck.

DON’T crunch the lower back by squeezing the butt, pushing the knees wider than hip-width apart, or pooching the belly.

Focus Inward

Backbending is a journey into the nervous system and all of the emotions our nerves and sense organs can trigger—from fear to elation. When practiced slowly and safely, backbends like Ustrasana and Kapotasana have the power to reset your response to stress. Backbending trains the mind to remain equanimous in the face of adversity, requiring you to move carefully as you work with the limitations of your body and mind. As you extend your spine backward, you have to learn to distinguish between muscular and emotional intensity and between safe physical challenges and unsafe joint pain. Use your breath to cultivate a clear, calm mind, which can help you focus on and detect subtle sensations, such as strain within, rather than letting your ego be the driver of your asana practice, which can force your body into an aesthetic shape for which you may not be ready.

Snake pose

Sarpasana (Snake Pose)– Benefits, Adjustment & Cautions


Sarpasana (Snake Pose)– Benefits, Adjustment & Cautions

Sarpasana or Snake Pose has similar effects to Bhujangasana. In addition, Sarpasana helps to correct the posture and has a profound strengthening effect on the back muscles.

Instructions:

1.     Lie flat on the stomach with the legs straight and the feet together

2.     Interlock the fingers and place the hands on top of the buttocks

3.     Place the chin on the floor

4.     This is the starting position

5.     Raise the chest as far as possible from the floor

6.     Push the hands further back and raise the arms as high as comortable

7.     Imagine the arms are being pulled from behind

8.     Raise the body as high as possible without straining

9.     Squeeze the shoulder blades together and look forward


Benefits of Sarpasana:

·       Helps to correct the posture

·       Opens the chest

·       Strengthens the back muscles

·       Corrects rounded shoulders

·       Improves and deepens breathing

·       Tones the ovaries and uterus

·       Stimulates the appetite

·       Alleviates constipation

Cautions:

People suffering from peptic ulcer, hernia, intestinal tubercolosis or hyperthyroidism should not practise this asana without the guidance of a competent teacher.

Pose

Cobra Pose

Open the heart and roll the shoulders down to promote flexibility in Cobra Pose.


Sarpasana (Snake Pose)– Benefits, Adjustment & Cautions

Sarpasana or Snake Pose has similar effects to Bhujangasana. In addition, Sarpasana helps to correct the posture and has a profound strengthening effect on the back muscle


Upward Bow (Wheel) Pose

Cat Pose

King Pigeon Pose

Routine

1. Kapal Bhati pranayam 20 times 3 sets


2. Pranayam 3 sets 10 each
3. Cobra pose 5min
4.camel pose 1 min


5. Vajrasanam 5min


6.Nails rubbing 5 min for hair
7.Upward Bow (Wheel) Pose 10 count 3 sets

8.hand and touches feet 10 count 3 sets
9.butterfly 5 min
10. Lil leg rise.
11.cuddle
12. Head stand 5 min 3 sets
13.finger tip pressures on ground for teeth.

Kapal bhati pranayam


YOGA

Kapal Bhati Pranayama - Skull Shining Breathing Technique


Kapal = forehead; bhati = shining; pranayama = breathing technique

Here’s a very powerful breathing exercise that not just helps you lose weight but also brings your entire system into a perfect balance.

Importance of practicing Kapal Bhati Pranayama

“When you do pranayama, 80% of the toxins in our body are released through the outgoing breath. Regular practice of Kapal Bhati Pranayama detoxifies all the systems in our body. And the obvious sign of a healthy body is a shining forehead,” shares Dr. Sejal Shah, a Sri Sri Yoga teacher.

Kapal Bhati literally translates to ‘the shining forehead,’ and this is precisely what happens with regular practice of this pranayama – a forehead that glows not just from outside, but also an intellect that becomes sharp and refined.

How to do Kapal Bhati Pranayama

Sit comfortably with your spine erect. Place your hands on the knees with palms open to the sky.


Take a deep breath in.


As you exhale, pull your stomach. Pull your navel in back towards the spine. Do as much as you comfortably can. You may keep your right hand on the stomach to feel the abdominal muscles contract.


As you relax the navel and abdomen, the breath flows into your lungs automatically.


Take 20 such breaths to complete one round of Kapal Bhati Pranayama.


After completing the round, relax with your eyes closed and observe the sensations in your body.


Do two more rounds of Kapal Bhati Pranayama.


4 tips to be used while practicing Kapal Bhati Pranayama

The exhalation in the Skull Shining Breathing technique is active and forceful. So, just throw out your breath.


Don't worry about the inhalation. The moment you relax your abdominal muscles, inhalation will happen naturally.


Keep your awareness on breathing out.


Practice this technique at home on an empty stomach.


8 Benefits of Kapal Bhati Pranayama

Increases the metabolic rate and aids in weight loss


Clears the nadis (subtle energy channels)


Stimulates abdominal organs and thus is extremely useful to those with diabetes


Improves blood circulation and adds radiance to the face


Improves digestive tract functioning, absorption, and assimilation of nutrients


Results in a taut and trimmed down belly


Energizes the nervous system and rejuvenates brain cells


Calms and uplifts the mind


Who should avoid doing Kapal Bhati Pranayama?

Avoid practicing this breathing technique if you have an artificial pacemaker or stent, epilepsy, hernia, backache due to slip disc, or have recently undergone abdominal surgery.

Women should not practice Skull Shining Breathing technique during and shortly after pregnancy as well as during menstruation as it involves vigorous abdominal squeezes.

People with hypertension and heart problems should practice this breathing technique only under a yoga expert's guidance.


Practicing Yoga helps develop the body and mind, yet is not a substitute for medicine. It is essential to learn and practice yoga under the supervision of a trained Yoga teacher. In case of any medical condition, practice yoga only after consulting your doctor and a Sri Sri Yoga teacher.

Tuesday, 20 December 2016

Vitamin

vitamin A
Cabbage,cheese,spinach,milkm,carrot,peaches

vitaminc
citrus,strawberries,peppers,pineapple,kiwi,green vegitable,potatoes

Niacin
wheat germ
vitamin b6,b12

prevent hair loss

yeast,whe grains,vegitable,milk

biotin

whole grains,milk,rice